Mini-split air conditioning systems are renowned for their exceptional efficiency and ease of upkeep. But frequent cleaning is necessary for these systems to function correctly over the long run. It can be a little tricky to know exactly where and how to clean a mini-split system if you have never done so before. We’ve put together a comprehensive guide on all you need to know about mini-split cleaning to help clarify things up. You’ll be an expert at maintaining and cleaning your mini-split after reading this guide.
The Importance Of Keeping Your Mini-Split Clean:

It’s crucial to regularly clean your mini-split for a number of reasons. As we’ve already mentioned, maintaining a mini-split’s condition is crucial to ensuring that it performs at its best. A mini-split system is far more susceptible to mold growth, premature wear of internal components, and the appearance of odd odors when it isn’t cleaned for an extended period of time.
Furthermore, by moving these pollutants into your living area, too much dust, filth, or mold in your mini-split system can lower the quality of the air in your house.If, for an extended period of time, you neglect to clean your mini-split filters, the system will probably become less efficient as well.
The accumulation of dirt, dust, and other impurities may require the system to work harder in order to function correctly. You may probably notice an increase in your monthly energy expenses as a result.
How To Maintain Your HVAC System In A Mini Split:
There are two main parts of a mini-split HVAC system: an outside unit and an interior unit. It is important to clean both units of a mini-split on a regular basis to prevent the adverse effects that were previously mentioned. For best results, mini-split units should generally be cleaned once every four to six weeks. For more precise information and guidelines on how frequently to clean your system, you should refer to the owner’s manual.
Mini-splits should be turned off and disconnected from the power source before being cleaned. By doing this, you can safeguard your health and prevent electrocution when cleaning the area around the electrical components of the system. We advise fully unplugging the power cord from the socket or main electrical panel for maximum safety.
Getting the required materials is the next step in getting ready to clean the exterior or interior unit of your mini-split after removing the power supply. Thankfully, less sophisticated or expensive equipment is required for efficient mini-split cleaning. Usually, all you’ll need is these things:
- a fresh, moist cloth
- a fresh, dry cloth
- Household cleaners (for recommended cleaning supplies, consult your owner’s manual)
- A hose of water
- a vacuum attachment including a brush nozzle
You’ll need the following for a more thorough cleaning:
- A tool for cleaning coils
- An ashtray
- An aerosol can
- Treatment for condensate drain pumps
- Condensate drain cleaner
- Now that you have assembled the required tools, it’s time to begin cleaning both the interior and exterior of your units.
Cleaning Your Mini-Split’s Indoor Unit:

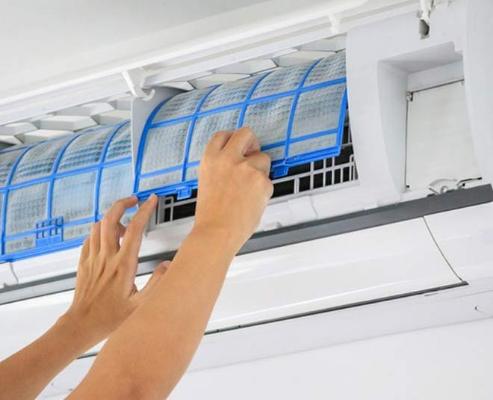
The interior unit of your mini-split can be cleaned by first wiping down its exterior with a damp towel and then drying it with a dry cloth. The mini-split filter should then be found, removed, and cleaned with water and a mild detergent. You must take off the system’s front panel in order to accomplish this. Let the mini-split filter air dry fully after cleaning it, then replace it in the system where you found it.
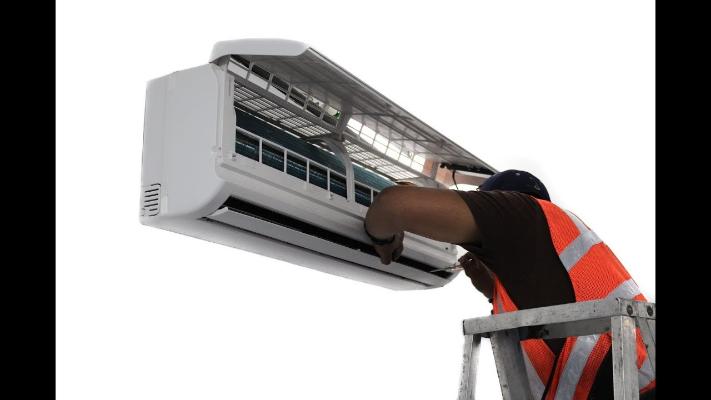
Cleaning the evaporator coil comes next, following the cleaning of the mini-split filters. Take off the unit’s cabinet to get to the coil. Next, wipe off any dirt, mold, or other buildup that has collected on the coils with a clean, dry cloth or a cloth soaked in coil cleaning. Reinstall the front panel and cabinet on the unit after cleaning the coils.
Finally, you should clean the drain and the condensate pan. If you see any growth of mold or other difficult-to-remove detritus, you might want to use bleach or soapy water to clean the pan and drain.
Cleaning Your Mini-Split’s Outside Unit:
The first step in cleaning your mini-split’s outside unit is to get rid of any dirt, such as leaves, twigs, or grass, that is in, on, or near the unit. Next, give the outside unit a thorough cleaning with a garden hose or coil cleaning tool. After that, wipe off any accumulated dirt or grime from the unit’s housing with a cloth. Make sure to wipe a mini-split dry with a cloth after washing it.
Next, spray and scrub the exterior unit’s grille and fan cage using your hose and a cloth or cleaning brush. After cleaning the grille, remove it if you can, and carefully wipe the fan blades with a moist cloth and soap. Because the metal blades are delicate, handle them carefully to prevent bending or other damage. To stop the blades from rusting, rinse them with water after cleaning and dry them with a fresh cloth.
Use a dry towel to wipe off the interior of the device and an attachment on your vacuum to easily pick up any dust or other dirt. Use a hose and coil cleaner to clean the external unit’s coils.
Check the condensate pan after cleaning the inside mini-splitter, just like you did with the indoor unit. If you see any mold development, you should think about cleaning it off with a bleach solution before giving the pan a water rinse. In order to clear the drain hose of any dirt or other material that might be obstructing the free flow of water, give it a last wash with soap and water.
From single-zone wall-mounted splits to multi-zone floor-mounted mini-split units, the Pioneer Mini Split Store offers a large selection of mini-split system combinations. Complete installation kits are included with every system we sell, and installing them is easy. Browse our large selection of premium items today to experience the energy efficiency and streamlined design of a mini-split system.
How a Mini Split Filter Is Cleaned?

Here are some tips that will help you in cleaning Mini Split Filter:
1. Switch Off The Mini Split:
Make sure the mini split is turned off before removing and cleaning the air filter. By taking this precaution, you and your ductless air conditioning system will be kept safe.
2. Let Go Of The Wall-Mounted Device:
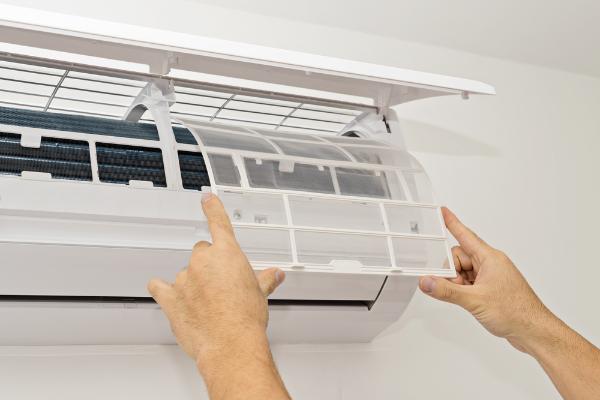
You can open your mini split after turning it off. Lift the front panel slightly until you hear a small click to accomplish this. With ease and without effort, the panel ought to open. The air filters will be visible once it is open.
3. Take The Filters Off Gently:
Your micro split air conditioner ought to contain two air filters. Carefully remove the filters by sliding them out while the front panel is open, taking care not to shake off any dust.
4. Clean Or Vacuum The Filters:
Vacuum the filters carefully using a very low-powered vacuum cleaner equipped with a brush attachment. The accessories included in a tiny split cleaning kit can be used to vacuum the filters.
The filters should be hand-washed with lukewarm water if any dust or debris remains after vacuuming them or if you don’t have a vacuum cleaner. Cleaning your tiny split air filter with the spray attachment on your kitchen sink is the most effective method. Allow the filters to air dry after cleaning. They need to dry thoroughly before being put back into the unit.
5. Change The Filters:
After the filters have dried completely, carefully replace them inside the device in their original locations. After that, shut the front panel. You may reactivate your ductless mini split by closing the front panel and replacing the filters.
How Often Should You Clean Mini Split Filters?
It’s typically recommended that you clean your ductless mini split’s air filters every two weeks and schedule a mini split air filter replacement once a year. Cleaning your air filters regularly will help:
- Improve indoor air quality
- Prevent mold in mini split
- Improve mini split efficiency
- Keep your home and family healthy.
FAQS:
1: How Often Is It Necessary To Clean A Mini-Split Air Filter?
A mini-split air filter’s cleaning frequency is dependent on a number of factors, including usage and environmental conditions. It is generally advised to inspect and clean the air filter once a month and to do so more often if needed.
2: Do Mini-Split Air Handlers That Are Ductless Require Routine Cleaning?
Unlike most traditional HVAC systems, which employ disposable filters, the majority of ductless mini-split air handler units feature reusable filters that need to be cleaned on a regular basis. A mini-split air filter’s cleaning frequency is dependent on a number of factors, including usage and environmental conditions.
3: Where On A Mini-Split System Is The Air Filter Located?
Find the Air Filter: In most indoor units, the air filter is behind the front panel. To find out how to access the air filter on your mini-split system, consult the user handbook. Take Out the Filter: Take off the air filter’s housing gently.
Conclusion:
The mini-split filter should then be found, removed, and cleaned with water and a mild detergent. You must take off the system’s front panel in order to accomplish this. Let the mini-split filter air dry fully after cleaning it, then replace it in the system where you found it.

