If you provide it with the right care and use, your air conditioner will continue to operate efficiently for the whole of its lifespan. So, in case you’re still unclear about the stages, keep reading as we go into more information about them. We’ll also address frequently asked questions as we proceed.
How To Properly Clean A Mitsubishi Mini-Split:
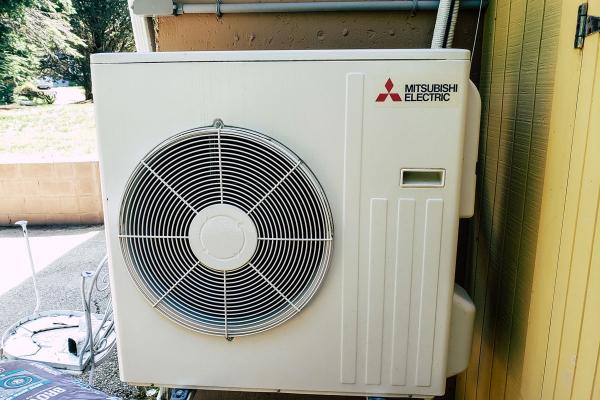
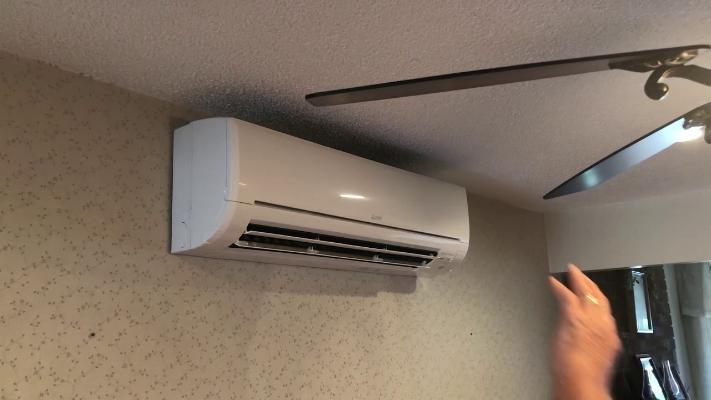
Mitsubishi mini-split air conditioners are well known for their capacity to zone and cool distinct rooms in addition to their small dimension. Like most central air conditioning systems, the Mitsubishi mini-split air conditioner consists of two main elements. It has an internal air handling unit and an external compressor/condenser.
Here, we’ll discuss and focus on cleaning the inside air handling unit of a Mitsubishi mini-split. But before you start, make sure you have the instruments needed for the process.
The following procedures should be followed when cleaning a micro split air conditioner:
Step 1: Remove The Front Panel And The Louvers.
To remove the front panel, simply lift it until a “click” sound is heard. Remove the hinges with gentle grip. To eliminate the horizontal louvers, shift the middle and left side clips slightly to the right. To avoid fracturing or cracking, be careful not to use too much force when removing the louvers.
Step 2: Remove The Cover And Filters.
Carefully loosen the filters from the hinges and slide them down to remove them. To access the cover, unscrew the tabs on the device’s side corners with a flathead screwdriver.
The tabs are located on the lower part, where the louvers were. Under those tabs are screws; loosen each one with a screwdriver.
Now, carefully take off the air conditioner’s cover.
Step 3: Tighten The Internal Screw On The Blower Wheel.
On the right side, at the center of the blower wheel hole, is a screw. Just loosen it with a screwdriver, don’t remove it completely.
Step 4: Unscrew Additional Screws To Remove The Blower Wheel.
Proceed to extract the three screws located on the left side of the device’s body. After that, the drain pan needs to be carefully lowered beneath the evaporator. Use a towel if you see water seeping out of the pan. After that, the evaporator can be pulled to remove the blower wheel.
Step 5: Vacuum The Front Panel, Filters, And Blower Wheel

When cleaning the blower wheel, filters, or front panel, avoid using any kind of scrub brush or rough sponge. Avoid using cleaning products that include polishing powder, pesticides. If at all feasible, use gentle detergents that have been diluted.
Use a fresh, moist towel to remove any dirt from the front panel and louvers. It is not recommended to soak or rinse the horizontal louvers.
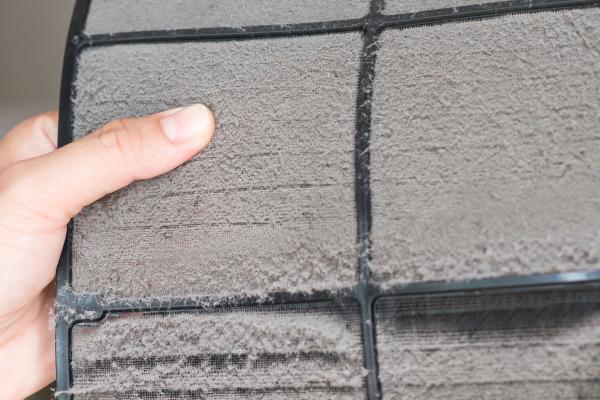
The Nano Platinum filter needs to be cleaned every two weeks. You can either use a vacuum cleaner or a water hose to remove the dirt. Make careful to completely dry it in the shade, away from the sun, if you choose to rinse it.
One way to ensure the quality of the air your air conditioner generates is to replace the filters on a regular basis. The air-cleaning filter on the Mitsubishi mini-split needs to be replaced every year, especially when cleaning it is no longer enough to remove the dirt and odor.
The deodorizing filter helps to make the air that your air conditioner generates cleaner. You must regularly clean the black filter on your Mitsubishi small split in order to restore the deodorizing feature. Vacuum clean it every three months, or follow the instructions and soak it and its frame in warm water for fifteen minutes.
You must clean your filters on a regular basis since they could cause the air conditioner to get damp. Mold and other fungi thrive in the presence of condensation. There is a major health risk to your family from fungi.
If dust and debris are clogging your filters, cold air cannot pass through the evaporator. Because the machine has to work harder only to reach the necessary temperature, this leads to an increase in energy consumption.
You need to spray some diluted mild detergent all over the blower wheel’s body to clean it after cleaning the filters. After letting the detergent stay on it for five to ten minutes, rinse it. Once more, let it to dry in the shade.
Step 6: Make The Main Body Clean.
Next, use the cleaning cover to cover the main body and give it a thorough washing. This is to ensure that there won’t be any splashes or leaks of water while cleaning the machine. Make sure the cleaning cover’s included hose is always inside a bucket. Wait a few minutes for the froth to subside after cleaning the coils with an evaporator coil cleaner. Apply a mist of water to clean the coils. Let the coils dry by air.

Step 7: Change Every Component.
Wait until all of the ingredients are dry. Reinstall them by reversing the removal procedure.
Tips For Cleaning Mitsubishi Mini Split Air Conditioner

Maintaining a Mitsubishi micro split air conditioner’s performance and indoor air quality requires regular cleaning. Maintaining the best performance and accurate heating and cooling control requires routine cleaning.
Cleaning the mini-split system also contributes to possible energy savings.
Use these procedures to properly clean the Mitsubishi micro split air conditioner:
1) Cut off the unit’s power supply.
2) Wipe the interior unit’s surface using a gentle cloth.
3) Take out the air filters and wash them with a little soap and water.
4) Use a coil cleaner made especially for air conditioners to clean the coils.
5) To avoid obstructions, inspect and clean the condensate drain pipe.
6) Lastly, switch on the power source and take pleasure in the increased comfort and air quality that come with a clean, well-maintained Mitsubishi micro split system.
FQAs:
1: How Efficient Is The Mitsubishi Mini-Split?
Mitsubishi mini-splits are known for their energy efficiency because they use 25% to 50% less electricity than a typical central air conditioning system. This is because vacant rooms are neither heated or cooled by the system.
Because Mitsubishi mini-splits are ductless, air is also distributed directly to different rooms. As a result, it maximizes energy efficiency by 25%.
One feature of a ductless system is its flexibility to operate at different speeds while remaining on, which helps to maintain a consistent temperature that adapts to the environment. Energy can be saved by not having to continuously turn on and off your unit thanks to this feature.
2: How Much Does A Ductless Air Conditioning System Cost?
The pricing is determined on the model, system capacity, and brand. However, the price of a ductless air conditioning system usually ranges from $1,500 to $5,000, depending on the horsepower.
3: What Is The Appropriate Duration For A Mini-Split?
The conditions, usage, maintenance, and power source of an air conditioner all have an impact on how long it lasts. A 20-year lifespan is possible for a Mitsubishi mini-split if proper maintenance and operation are performed.
Conclusion:
Leaning a Mitsubishi mini-split is simple, especially if you have the right equipment. The front panel and louvers need to be removed first things first. After that, remove the device’s entire cover together with the filters. After loosening the internal screw, remove the extra screws holding the blower wheel in place.
Now remove the blower wheel and clean the filters, louvers, and front panel. Once you have finished cleaning them, proceed to the location of your unit and clean the unit’s main body using a cleaning cover. After it has completely dried, replace each part.

