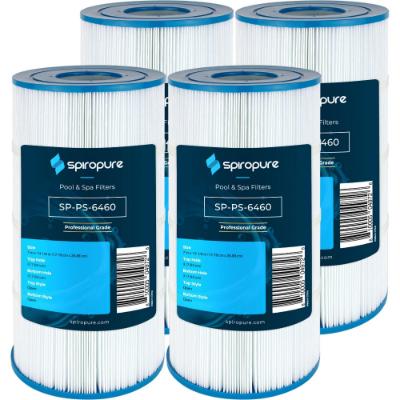
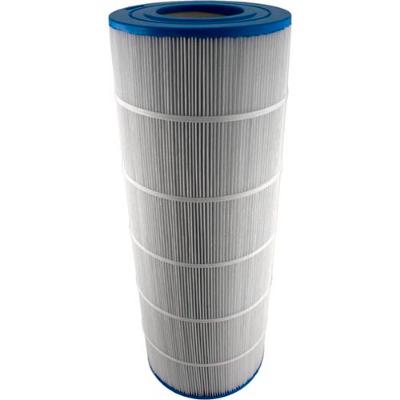
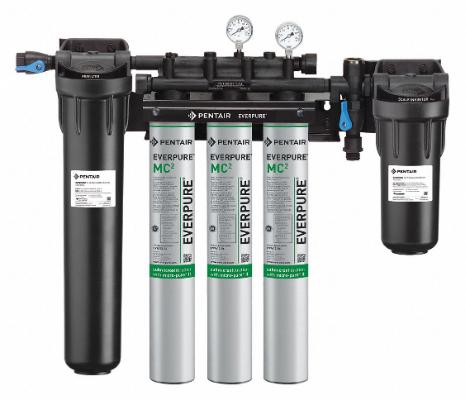
When Should You Change Your Filter?
The working pressure of a filter rises when debris is removed from your pool. The pressure rise is contingent upon various factors including as temperature, ambient circumstances, and bathing loads.
When you detect a noticeable reduction in flow or when the pressure gauge on your filter reads around 10 psi higher than the Original Starting Pressure, it’s time to clean it. When recording the original operating pressure when utilizing a variable speed pump, the Original Starting Pressure will depend on the pump speed (RPM).
In order to maintain bright, clean, and healthy pools, Pentair provides a large assortment of pool and spa filters in a variety of designs.
Step 1: Turn off the pump and release all pressure in the filtering system.
- To make sure the system isn’t unintentionally activated during maintenance, turn off the pump, turn off any automated controls (such timers), and unplug the electricity at the circuit breaker.
- Turn the top of the manual air relief valve 1/4 turn counterclockwise to release it from its closed position.
- Keep your distance from the filter and wait for the pressure to release completely. Pressure gauge readings must be zero (psi).
- Let all of the water exit the filter by opening the drain plug located at its base.
- To enable the spring coils to deflate, remove the clamp barrel nut with a 7/8-inch wrench.
- Take out the two washers, spring, and barrel nut from the T-bolt and set them aside.
- Take out and set aside the clamp ring from the filter.
- Gently pry the filter lid off the bottom of the tank.
- avoid using the air relief valve to lift the filter lid. The valve may be harmed by this.
It might be necessary to carefully shake the filter cover from side to side in order to loosen the seal between the tank’s bottom if it is tightly sealed. A screwdriver or pry bar should not be used to open the lid. This may harm O-ring. While doing maintenance, store the tank lid and O-ring in a secure location to prevent harm.
It is important to reduce the quantity of debris that comes into touch with the exposed tank O-ring.
Filter Cartridge Cleaning:
- Pay close attention to Opening the Filter.
- Empty the pump strainer basket and remove the pot cover. Put the strainer basket and lid back on.
- Take off the Top Manifold’s Compression Spring and Spring Adapter.
- Take out the filter cartridges from the Top Manifold and set it aside.
- Remove each cartridge one at a time, using care.
- Wash the entire cartridge from top to bottom using a garden hose fitted with a straight flow nozzle held at a 45-degree angle to it.
Remark: Take extra care in the space between the pleats.
- Regarding cartridges used in swimming pools with significant sweat content, oils or sun lotions present
- Dip the cartridge into one of the following solutions for a minimum of one hour:
- A commercial air purifier
- One cup of dishwasher detergent and one cup of trisodium phosphate (TSP) per five gallons of water
- Rinse every cartridge well to get rid of the cleaning solution and oils.
- Clean the bottom manifold and filter tank interiors. Debris and water will drain through the drain plug that is open.
- Examine the gasket surrounding the bottom plate’s outer lip. The outer lip needs to have the gasket inserted uniformly and firmly throughout.
- Fill the tank with the bottom manifold, cartridges, and top manifold, making sure the top manifold’s spring and standpipe assembly are still attached.
- Make sure the O-ring is clean and place it on the underside of the tank.
Soaking Cartridges In Acid Solution:

It might be essential to soak the cartridges in an acid solution after a prolonged period of use. Algae, calcium carbonate, iron, and other mineral accumulations can be eliminated from the cartridges by acid soaking. These mineral deposits may restrict the amount of water that passes through the filter if they are not removed, which could make the system less effective.
Always Remember:

The following supplies are advised:
- A large plastic container; a garden hose with a straight flow nozzle.
- Muriatic acid (stored in an opaque container).
- Safety glasses.
- Rubber gloves.
- N-95 dust mask.
First To Do:
- Empty the cartridges of all oils and cleaning agents.
- Put on safety glasses, an N-95 dust mask, and rubber gloves as protective gear.
- Mix one part muriatic acid to twenty parts water in a big plastic container.
- Carefully drop the cartridge bottoms into the acid mixture.
Let the cartridges sit in the mixture for ten minutes, or until the bubbling subsides.
- Flip the cartridges over and dip the upper parts into the mixture.
Let the cartridge top halves soak for ten minutes, or until the bubbling subsides.
- Take the cartridges out of the solution containing acid.
- Rinse the entire filter element down with a garden hose fitted with a straight flow nozzle. Maintaining a 45-degree angle between the nozzle and the cartridge, wash from the top down.
- Put the cartridges back in place and dispose of the acid solution in line with regional laws.
- Pay close attention to Reinstalling the Filter Lid and Clamp Ring.
Reinstalling The Clamp Ring And Filter Lid Suggested Equipment:

- Rubber mallet
- Socket wrench
- 7/8-inch socket
- Socket extender (if necessary)
Action To Take:
- Verify that the O-ring is positioned correctly on the tank bottom and is clean. In order for the O-ring to fit between the tank halves, seat the filter lid on the tank bottom.
- Place the clamp ring over the upper and lower tank flanges while holding the ends apart. Bring the filter clamp’s ends together.
- Place the T-bolt through the clamp’s other opening and tighten.
- Slide the little washer onto the fastener.
- Attach the barrel nut, big washer, and spring to the T-bolt. Manually tighten the nut. Make sure the tank flanges can readily accommodate the clamp ring.
- Following manual tightening:
- Tighten more with a 7/8-inch socket wrench.
- To ensure that the clamp fits correctly, tap around the entire clamp ring several times with a rubber mallet or other similar implement.
- Keep tightening until the spring coils come into contact.
- Reapply pressure to the entire clamp and make sure the spring coils are still in contact. If not, keep the nut tightened.
Always Remember: After tapping the clamp, the spring coils must still touch for the clamp to be successfully placed.
- Close the filter’s drain plug located at the bottom.
- Adhere to the Start-Up Instructions on page 6 precisely.
Start-Up Guide:
- Verify that the clamp ring’s spring is fully compressed and that its coils are contacting.
- To fully open the Manual Air Relief Valve, turn its top 1/4 turn counterclockwise until it clicks into place.
- Before starting the pump, stay away from the filter.
- Check for the correct operation. If the pressure gauge shows pressure before the water outflow arrives, the system is malfunctioning.
- After the pump’s inlet basket fills with water, a steady stream of water does not emerge within 30 seconds.
- Where the filter’s two parts meet is where water leaks out.
Turn off the pump right away if any of these situations apply. To release pressure and clean the valve, open the manual air relief valve.
- Close the manual air relief valve by giving the valve cover assembly a quarter turn in the direction of the clock after a continuous stream of water occurs.
FAQs:
What Is A Water Filter System Made By Pentair?
A low-maintenance water treatment system that lowers pollutants like chlorine from your home water is the Pentair Whole House Water Filter System. Accredited to lower 97% of chlorine for improved water flavor and aroma, it includes a sediment pre-filter that is ready to install to keep dirt and debris out of your tap.
What Makes Pentair The Best Option?
Pentair offers a solution to let you move, enhance, and enjoy water in every part of your home at every moment. in order to create new, better, safer, and more sustainable methods for your water to flow, filter, and have fun. reduced emissions. lower wattage. Your water is therefore guilt-free. We uphold our moral principles. We give back to the communities we live in.
How Is A Water Filter Cleaned?
Clean the filter tank’s interior as well as the bottom manifold. Debris and water will escape through the exposed drain stopper. Examine the gasket surrounding the bottom plate’s outer lip. The entire outer lip of the gasket needs to be equally and securely inserted.
Conclusion:
Regarding cartridges used in pools with a lot of perspiration, oils, or suntan lotions: When utilizing polyhexamethylene biguanide sanitizers or other cartridge filter cleaner solutions, soak the cartridge in one of them for at least an hour. Five liters of water with one cup of dishwasher detergent. Use this only if it is absolutely required, as it will likely reduce the lifespan of your cartridges. An acid wash is necessary if there is severe discoloration, as in this instance, and significant filter pressure.

